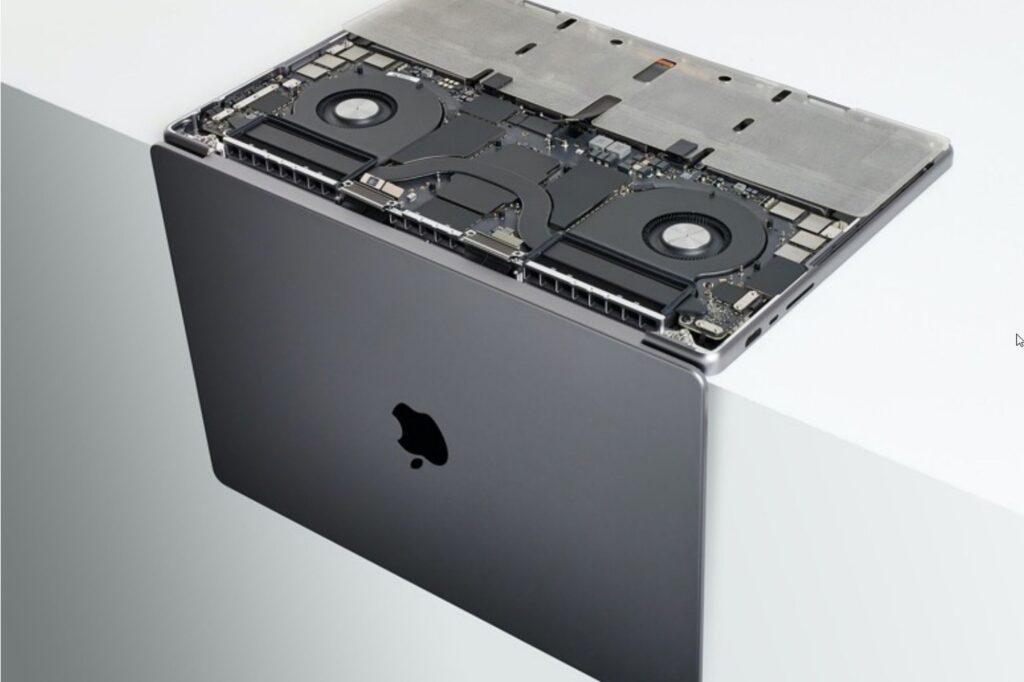
MacBook Pro A1707 Power Issue Diagnosis and Repair

When charging the A1707 MacBook with a USB-C charger and measuring the input current and voltage with a USB-C meter, the meter does not even turn on at all or 0 current.
Table of Contents
We begin the MacBook Pro A1707 repair process by checking the USB input and using a power meter to analyze the laptop’s behavior. Upon plugging in the charger, we observe that the voltage is 5V, and the current draw is approximately 70mA. This indicates that the Power Delivery controller is not negotiating the correct voltage with the charger. We verify this across multiple USB-C ports, all showing the same readings, confirming a power issue with the laptop.
Initial Inspection
We notice that one screw is missing, suggesting that someone may have attempted a repair before. However, after removing the back cover, the motherboard appears untouched. The screws remain factory-tightened, indicating no prior repairs. The first step is to check the main power rail, which reads 10.9V—confirming that the main power is present and ruling out a missing main power rail issue.
Since the PD controller is not negotiating voltage, the next logical step is to check the 3.3V power supply, also known as the 3V3 G3Hot rail, which is always present and supplies voltage to the EC and SMC chips. We verify that the battery is providing voltage and proceed to check the output of this rail. Resetting the SMC can sometimes fix problems with charging and turning on your Mac. To reset the SMC on your MacBook Pro A1707, follow these steps: Shut down your Mac. Hold down the Shift, Control, and Option keys, and then press and hold the power button
Identifying the Fault
The suspected component is a double diode commonly known for failure in these cases. To access this component, we remove the MacBook Pro A1707 motherboard. The board remains dusty, reinforcing the assumption that no previous repairs were attempted. Following the schematic, we identify the relevant circuit and test the diode’s output using a power supply.
Setting the power supply to 5V with low current, we check the output of the diode and observe a current draw of 400mA, which is unusual. Normally, it should be close to zero or a few milliamps. We then reduce the voltage to 3V and notice the same current draw. This indicates a possible short in the circuit. To confirm, we apply isopropyl alcohol around the suspected components and introduce power to observe any reaction.
Locating the Shorted Component
After testing, we find that a capacitor near the suspected diode is heating up significantly. This confirms that the capacitor is shorted. which aligns with a capacitor failure. We proceed to remove the faulty capacitor and recheck the circuit for shorts.
With the faulty capacitor removed, we test the circuit again and confirm that the short is gone. Now, we need to replace the capacitor with a suitable one. We source a similar capacitor from a donor board, ensuring it matches the voltage and capacitance ratings. While a larger capacitor might offer benefits, we ensure to select an appropriate replacement without exceeding the required specifications.
Check PP20V_USBC and PPDCIN_G3H resistance
- Measure the resistance between PP20V_USBC and GND with a multimeter on resistance mode
- if you read less than 50 ohms, you have a short, proceed to “Short on PP20V_USBC or PPDCIN_G3H” repair steps below
- Measure the resistance between PPDCIN_G3H and GND with a multimeter on resistance mode
- if you read less than 50 ohms, you have a short, proceed to “Short on PP20V_USBC or PPDCIN_G3H” repair steps below
Replacing the Diode
After replacing the capacitor, we recall that the diode may also be compromised due to the short. Since the diode bridges voltage from both the battery and charger, a shorted capacitor likely damaged it. We remove the double diode and source an exact replacement from another donor board.
Before soldering the new diode, we test it to confirm proper functionality. With the new diode installed, we conduct a final check by supplying 10V and measuring output voltage. The correct 3.3V output confirms the repair.

Final Testing and Verification
We reassemble the MacBook Pro A1707 motherboard into the laptop and reconnect all necessary components. Plugging in the charger, we now see a correct voltage of 19V with an increasing current draw, confirming proper charging functionality. The laptop powers on successfully, displaying the login screen, indicating a complete repair.
Conclusion
This repair highlights a common failure point in MacBook Pro A1707 motherboards—the 3.3V power supply rail, often affected by faulty capacitors and diodes. By methodically diagnosing the issue, we were able to identify and replace the faulty components efficiently.
Reformtech For those looking to perform similar repairs, schematics and board views are invaluable tools, and these can often be found in repair forums and communities.
We hope our customers are confident that they are getting the best deal on their repair. We have a low price guarantee that promises that if you can find a lower advertised price for the same repair, we will match and beat that price. Our standard warranty is valid at Reformtech, protecting your device no matter where you need us. Description: Looking to repair your MacBook Air & Pro? We Can Fix It, From MacBook Air & Pro Screen Replacement, Battery Replacements, Keyboard & Case, Adware Removal and More.
ReformTech is a highly reliable Laptop and Smartphone repair service provider that offers on-site repairs for various brands. We specialise in fixing hardware issues, including screen replacements, keyboard replacements, RAM upgrades, SSD upgrades, and even motherboard repairs. Contact us at 8100257620 for fast and efficient service. Best Service in Kolkata in Behala Chowrasta with guaranteed quality. 📱🔧 #Reformtech #AppleMobileRepair #BestServiceInKolkata #iPhoneRepair iPhone service center.