Introduction
The M2 MacBook Air 13.6″ 2022 Teardown, model A2681 in Starlight, introduces a fresh design with an all-new M2 processor. This teardown will walk through the disassembly process, highlighting key differences from previous models and providing insights into internal components. Before beginning, ensure the device is powered off to protect both yourself and the hardware.
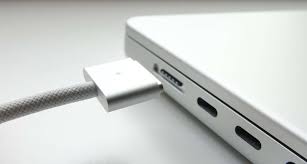
Table of Contents
Removing the Bottom Case
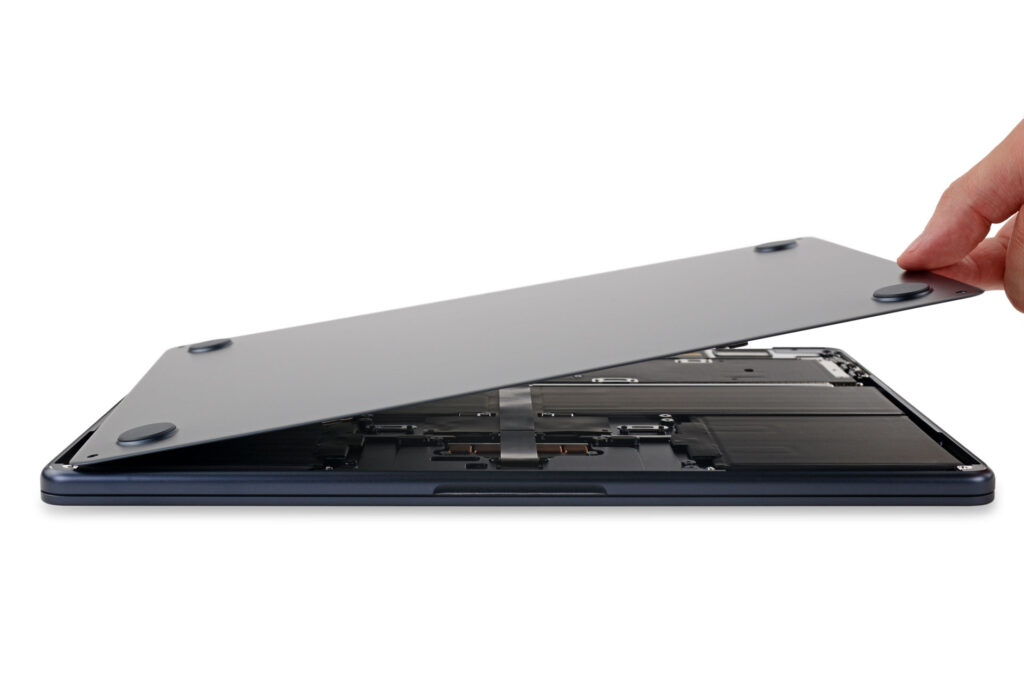
Starting with the bottom case, we immediately notice some design changes from older models. To remove the bottom cover:
- Unscrew the four pentalobe screws along the edges.
- Use a suction cup to break free the magnets securing the bottom case.
- Note the four prongs at the top holding the case in place—slide the bottom case towards the trackpad before lifting it off.
Disconnecting the Battery
Once inside, disconnect the battery from the logic board:
- Unscrew the two T3 screws securing the battery connector bracket.
- Use a pry tool to remove the retention bracket.
- Disconnect the battery flex cable.
Disconnecting the Trackpad Cable
The trackpad cable is located on the left side of the How to M2 MacBook Air 13.6 2022 Teardown logic board:
- Unfasten the retention screws.
- Carefully break the M2 MacBook Air trackpad flex cable free from the adhesive to prevent damage.
Removing the Wi-Fi and Speaker Assemblies
At the top of the unit, four screws secure the Wi-Fi and speaker assemblies:
- Unscrew the T5 screws that double as anchor points.
- Prepare the logic board for removal by unfastening these screws (a mix of T3 and T5).
- Use a magnet to help retrieve the screws, ensuring they are free before lifting them.
Removing the Hinge Covers
To detach the hinge covers:
- Unfasten two T5 screws per hinge.
- Use a pry tool while pulling and pushing downward to release the covers.
- For now, leave the covers in place.
Removing I/O Ports
For port removal:
- Unfasten the T5 screws securing the desired ports.
- The MagSafe 3 charging port has two additional T5 screws at its base that must be removed.
Disconnecting Components from the Logic Board
Several components need to be detached:
- Unscrew the T3 screws and brackets holding Wi-Fi antennas, speakers, USB-C ports, and daughter board connections.
- Remove the USB-C ports from the chassis.
- A newly revealed T5 screw securing the logic board must also be removed.
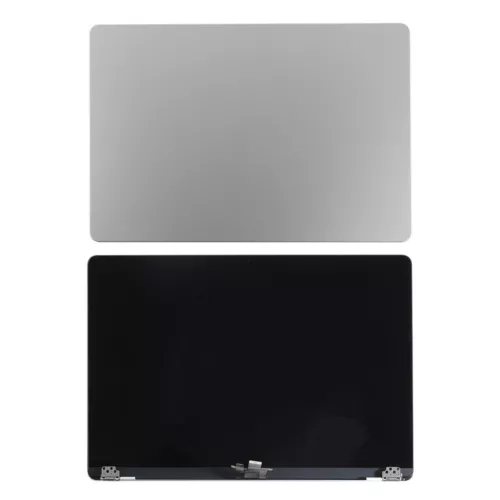
Detaching the LCD Assembly
- Remove the hinge covers.
- Unscrew six T8 screws securing the LCD assembly.
- Unfasten the two hidden T5 screws holding the Wi-Fi speaker assembly.
- Lift the right Wi-Fi speaker assembly out of the unit.
- The left Wi-Fi speaker remains attached by the LCD securing bracket.
- To remove the LCD, unfasten two T3 screws and two P2 screws below them.
- Peel back the MacBook Air black tape strip and remove a hidden T3 screw.
- After removing the bracket, detach the left Wi-Fi speaker assembly.
- Disconnect the three LCD cables at the top of the unit.
Removing the Logic Board
- Remove two T3 screws securing the hideaway panels that conceal additional connections.
- Use a pry tool to fish out the panels.
- Disconnect the AUX port board and the LCD proximity sensor.
- Carefully detach the fragile LCD proximity sensor, which is glued to the AUX port board.
- Lift the AUX port board out of the chassis.
- The logic board is now fully removable—place it on an anti-static surface.
Preparing the Daughter Board for Removal
- Disconnect the MacBook Air keyboard and battery daughter cable.
- Unscrew a T3 bracket holding the Touch ID flex cable.
- Since the Touch ID sensor flex cable is glued, prepare it for detachment later.
- Use a T5 screwdriver to unscrew the daughter board.
- The board is still adhered to the top case—use a pry tool along the edges to release it.
Removing the Touch ID Sensor
- Unfasten six T5 screws securing the bracket and sensor.
- Remove the bracket.
- Use a T3 screwdriver to remove the final screw holding the sensor.
- The sensor remains in place for now but will be removed later.
Detaching the Trackpad
- Unscrew ten T5 screws securing the trackpad.
- If not previously removed, detach the MacBook Air MagSafe 3 connector.
- Open the unit slightly and thread the trackpad cable through its routing holes.
- Carefully lift the trackpad from the LCD—avoid sliding it to prevent scratches.
Final Disassembly Steps
- Remove the Touch ID sensor from the MacBook Air keyboard by opening the unit halfway and gently fishing it out.
- Ensure the cable is free—do not force it out.
- To detach the top case from the LCD assembly:
- Open the unit halfway.
- Rotate the bottom case upwards near the hinges.
- Lift it away from the LCD assembly.
- Disconnect the trackpad flex cable from the MacBook Air trackpad by lifting the retention bar and pulling the cable downward.
- A small amount of adhesive may resist, requiring slight force.
Conclusion
The teardown of the M2 MacBook Air 13.6” (Model A2681) showcases the new internal design, including differences in fastening methods, adhesive placements, and modular component connections. With patience and the right tools, disassembling this device is straightforward but requires care to avoid damaging delicate components.
“Looking for expert Apple mobile repair? At Reformtech, we provide top-notch iPhone repair services in Behala Chowrasta, Kolkata—whether it’s screen repair, battery replacement, or other issues, we guarantee quality service! 📱🔧
We also specialize in laptop and smartphone repairs, including screen replacements, keyboard fixes, RAM & SSD upgrades, and motherboard repairs for various brands.
📞 Contact us at 8100257620 for fast & reliable service!
#Reformtech #AppleMobileRepair #iPhoneRepair #MacBookRepair #LaptopService #BestRepairService #AppleServiceCenter”