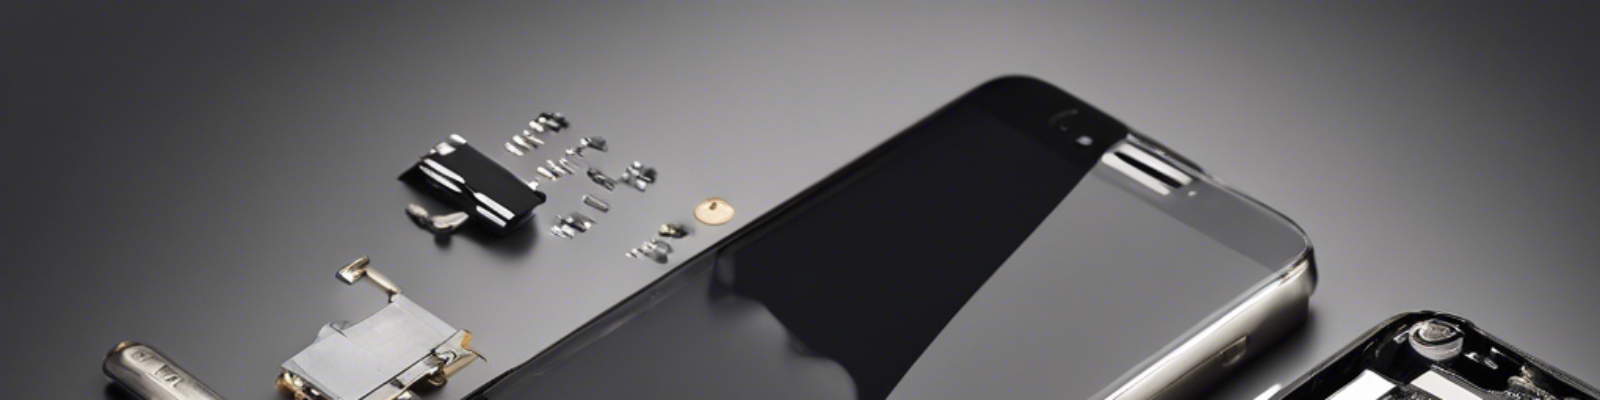
If you are experiencing issues such as pixelated lines, fuzzy colors, or even a cracked screen on your HP 15-dy laptop, you may need to replace the screen. While this may seem like a complex task, following a detailed step-by-step guide can make the process much easier. In this guide, we will walk you through the entire screen replacement procedure, from safely shutting down your laptop to successfully installing a new touchscreen. By carefully following these instructions, you can restore your laptop’s display functionality and save money on costly repairs.
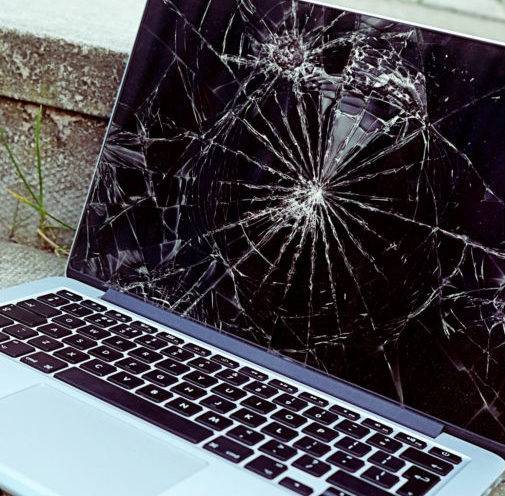
Table of Contents
Step 1: Power Off and Identify Your Laptop Model
Before beginning the replacement process, it is crucial to power off your laptop to prevent any electrical damage. To do this, press and hold the power button until the device shuts down completely. Once the laptop is powered off, turn it over and locate the model number printed on the back. For this particular guide, we will be working with the HP Laptop 15-dy2045nr model. Ensuring that you have the correct model information will help you purchase the right replacement screen and avoid compatibility issues.
Step 2: Disconnect the Battery (Recommended for Safety)
Although this guide proceeds without disconnecting the battery, it is generally recommended to do so for safety reasons. If you choose to disconnect the battery, follow these steps:
- Remove the rubber covers from the bottom panel to expose the hidden screws.
- Use a screwdriver to remove the screws securing the back cover.
- Carefully lift and remove the back cover to access the internal components.
- Locate the large square battery inside the laptop and gently disconnect its connector.
Taking this precautionary step helps prevent accidental power surges while working with internal components.
Step 3: Remove the Screen Bezel
The screen bezel is the plastic frame that surrounds the display. To remove it, follow these steps:
- Use a metal pry tool to carefully slide underneath the bezel.
- Be mindful that the bezel is secured with both adhesive and clips. Gently pry it open to avoid breakage.
- Pay extra attention to the bottom part of the bezel, as it typically has stronger adhesive.
- Slowly work your way around the edges, cutting through the adhesive tape.
- Once the bezel is sufficiently loosened, lift and remove it completely.
Step 4: Detach the Old Screen
With the bezel removed, you can now proceed with detaching the damaged screen:
- Identify the black adhesive tape securing the screen to the laptop frame.
- Carefully peel off the tape to expose the display connector.
- Use a plastic tool (avoid metal tools to prevent damage) to disconnect the LCD cable from the screen.
- Gently tilt the screen forward, laying it down towards your body.
- Carefully lift the screen away from the laptop frame and set it aside.
Step 5: Install the New Screen
Installing the new screen requires attention to detail to ensure a secure and functional replacement:
- Verify the model number on the back of the old screen to order an exact replacement. For example, a common replacement model is NT-156WHM-T03 V8.1.
- Align the new screen in the same orientation as the old one.
- Connect the new screen by carefully sliding the 40-pin connector into place.
- Ensure the connector is fully seated and secure it with tape.
- Apply new double-sided adhesive tape (recommended thickness: 5mm) to attach the screen securely to the frame.
Step 6: Reattach the Bezel and Test the Screen
With the new screen installed, it’s time to reassemble the laptop:
- Carefully align the screen and press it onto the adhesive to secure it in place.
- Start by sliding the top part of the bezel into position before snapping it around the screen edges.
- Firmly press along the bezel’s edges to ensure all clips are secured.
- Power on the laptop to confirm that the new screen is functioning correctly.
Final Steps
If the new screen works properly, complete the final assembly:
- If you disconnected the laptop battery earlier, reconnect it and reattach the back cover.
- Ensure that the touchscreen functionality is intact by testing touch responsiveness.
- Power off the laptop once more and use a microfiber cloth to clean the screen, removing any fingerprints or smudges.
Conclusion
Congratulations! You have successfully replaced the screen on your HP 15-dy laptop. By following this step-by-step guide, you have restored your device’s display and saved yourself from the hassle of professional repairs. If you found this guide helpful, consider supporting ReformTech. Enjoy your newly repaired screen, and happy computing!
ReformTech is a highly reliable Laptop and Smartphone repair service provider that offers on-site repairs for various brands. We specialise in fixing hardware issues, including screen replacements, keyboard replacements, RAM upgrades, SSD upgrades, and even motherboard repairs. Contact us at 8100257620 for fast and efficient service. Best Service in Kolkata in Behala Chowrasta with guaranteed quality. 📱🔧 #Reformtech #AppleMobileRepair #BestServiceInKolkata #iPhoneRepair iPhone service center.