iPhone 16 Battery Replacement – More Repair Friendly Than Ever
The iPhone 16 Battery introduces a notable shift not only in external design, especially with its redesigned back glass, but also in its internal structure—making battery replacement significantly more accessible for DIY repairers and professionals alike. In this guide, we’ll walk through the entire battery replacement process step by step, highlighting Apple’s new approach that actually simplifies the battery removal procedure.
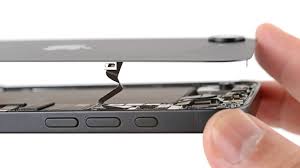
Table of Contents
Tools & Preparation
Before you begin, make sure you have the following:
- Precision screwdriver (Pentalobe)
- Suction cup tool
- Plastic opening picks or guitar picks
- Heat gun or heating pad
- Plastic spudger
- 9V battery with jumper wires
- B7000 adhesive (optional for reassembly)
- ESD-safe work surface
Step 1: Remove the Pentalobe Screws
Start by powering down your iPhone 16. While removing the bottom screws near the charging port isn’t strictly necessary to remove the back glass, doing so makes it easier—especially for separating the lower edge of the back panel.
Step 2: Heat and Loosen the Back Glass
Heat the back of the iPhone to soften the adhesive securing the glass. Around 80-90°C for 3-4 minutes works well, but this may vary depending on your heat gun or heating pad. Once heated, place a suction cup on the back and gently pull until you see the glass start to separate from the frame.
Use a plastic pick to work your way around the edges. Be especially cautious on the side with the volume buttons and Action Button—there’s a flex cable beneath this area that could be damaged if your pick goes in too far.
Step 3: Fully Remove the Back Glass
After loosening all sides, gently lift the glass. Don’t yank—it’s still connected to the device by cables for components like the wireless microphone and rear flash. Carefully disconnect these connectors before fully removing the back panel.
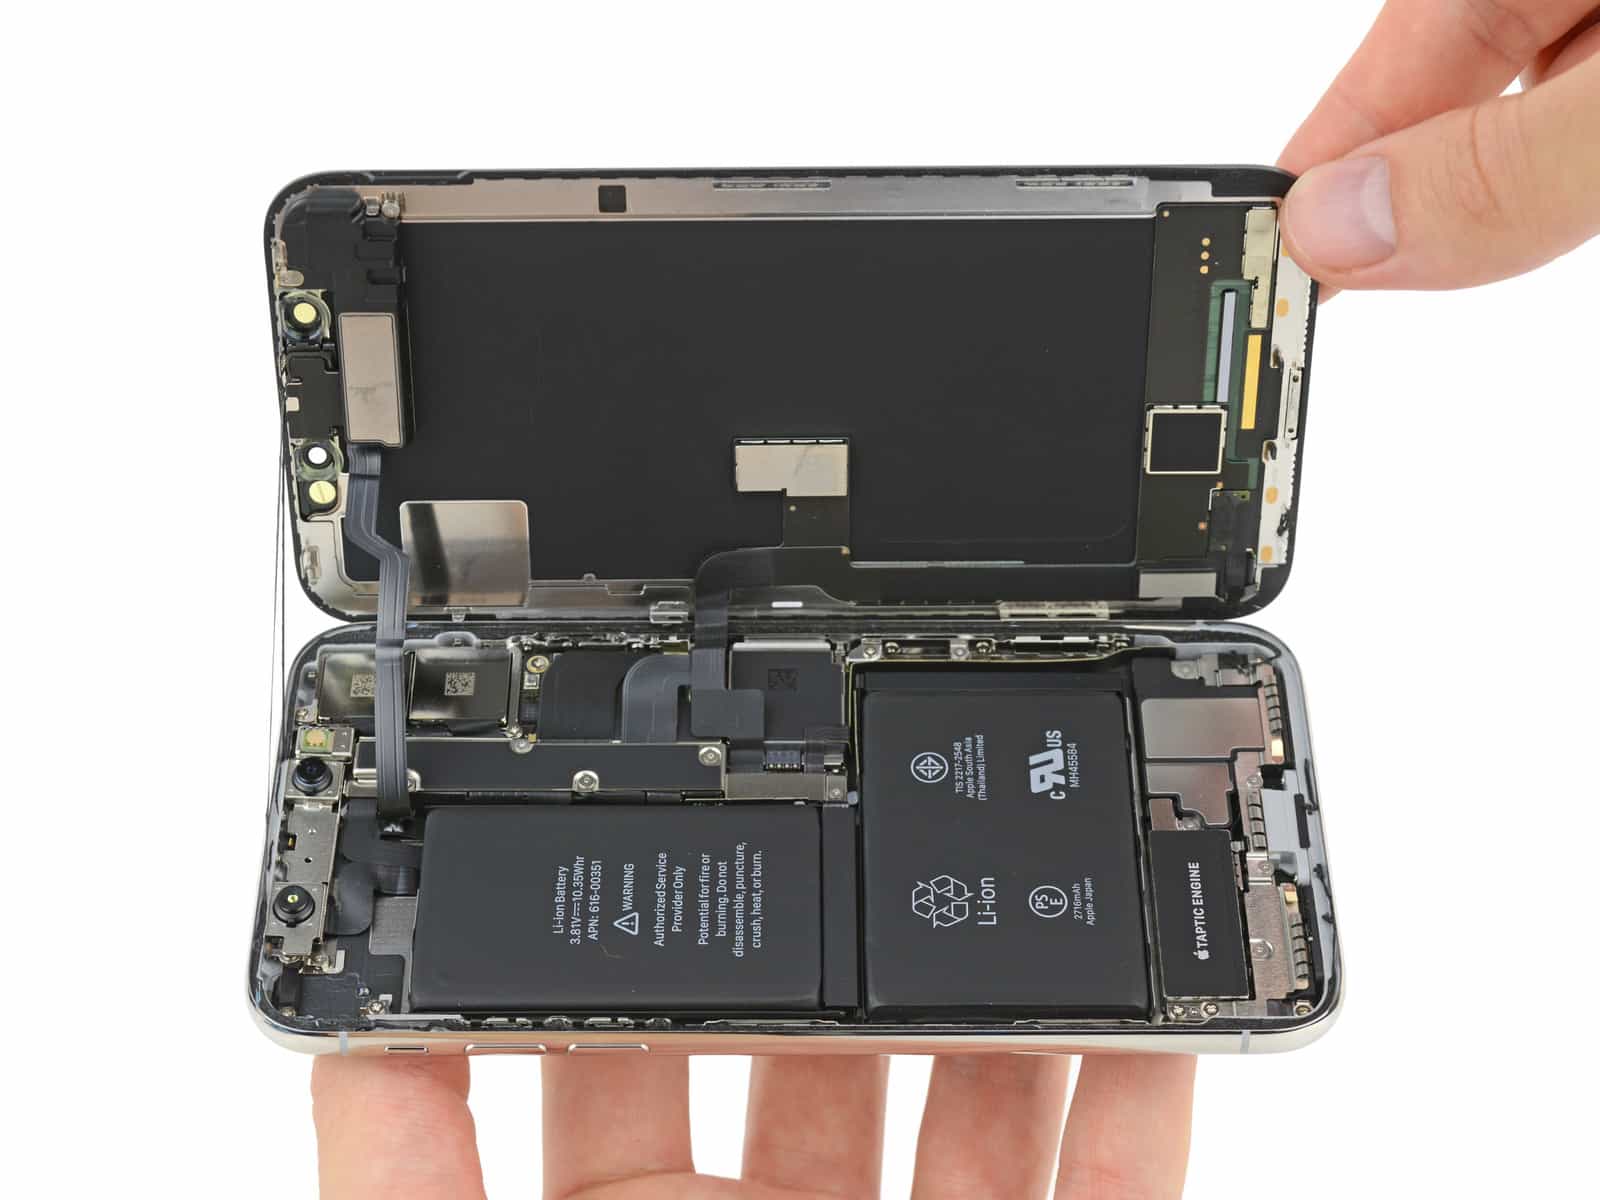
Step 4: Disconnect the iPhone 16 Battery
You’ll now see a iPhone 16 Battery new battery design that’s visually similar to the iPhone 15, but with a few internal upgrades. Remove the two screws securing the battery connector shield, then use a plastic tool to disconnect the battery flex cable from the motherboard. The cable is clearly marked with + and – signs for clarity.
Also disconnect any other attached flex cables from the back glass if not already done.
Step 5: Apple’s New Battery Removal Method
This is where things get interesting.
While previous iPhone 16 Battery relied heavily on alcohol and pry tools to remove the double-sided adhesive holding the battery, Apple added a clever new feature in the iPhone 16: a metallic U-shaped plate embedded into the battery’s back that responds to a 9V battery current to heat itself up.
Here’s how it works:
- Attach the negative wire of a 9V battery to a grounding point on the device chassis (usually one of the larger screws near the bottom).
- Touch the positive wire to the shiny contact on the front of the battery (near the bottom).
- This sends current through the metallic plate embedded behind the battery, heating it up just enough to soften the adhesive in about 90 seconds.
- Once heated, gently pry the battery out—it should release far easier than in previous generations.
This method is less invasive and significantly reduces the risk of bending or damaging the battery during removal.
Step 6: Inspect the iPhone 16 Battery and Prepare for Reinstallation
The iPhone 16 Battery has double-sided adhesive tape on both sides of the internal metal plate. If you’re reusing the battery (for testing, etc.), it’s possible to reinstall it without new tape. However, for long-term use, a fresh battery with pre-applied adhesive is recommended.
Align the battery in the frame, press it firmly into place, and reconnect the flex cable to the motherboard. Secure the cable with the original bracket and screws.
Step 7: Reassemble the Back Glass
Reconnect any components attached to the back glass (microphone, flash, etc.). Optionally, apply a small amount of B7000 adhesive around the edges of the frame to help reseal the glass. Press the back panel into place, ensuring everything lines up snugly. Reinsert the Pentalobe screws near the charging port.
Step 8: Power On & Test
Turn on your iPhone 16 Battery and check:
- Battery is recognized and charging properly.
- No boot warnings regarding “non-genuine” battery (if you reused the original one).
- All features—flashlight, mic, volume buttons—work as expected.
With iOS 18, Apple finally resolved one long-standing issue: the system now allows part pairing, meaning original parts pulled from another iPhone 16 can be paired without triggering warning messages. This marks a huge win for right-to-repair advocates.
Final Thoughts
The iPhone 16 battery replacement is surprisingly repair-friendly thanks to:
- Easily removable back glass
- Clearly labeled battery connectors
- Apple’s new 9V-assisted battery removal design
- Better software handling of genuine part pairing
For experienced DIYers, this process is streamlined and safe. For first-time repairers, it’s still a bit advanced—but much more forgiving than previous models.
“Looking for expert Apple mobile repair? At Reformtech, we provide top-notch iPhone repair services in Behala Chowrasta, Kolkata—whether it’s screen repair, battery replacement, or other issues, we guarantee quality service! 📱🔧
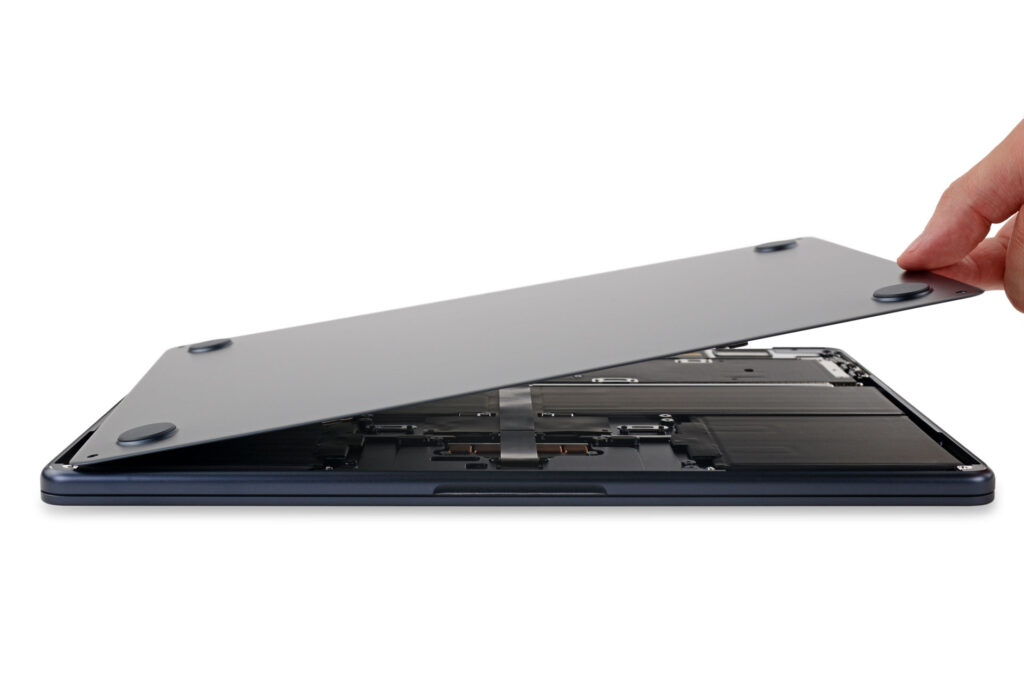
We also specialize in laptop and smartphone repairs, including screen replacements, keyboard fixes, RAM & SSD upgrades, and motherboard repairs for various brands.
📞 Contact us at 8100257620 for fast & reliable service!
#Reformtech #AppleMobileRepair #iPhoneRepair #MacBookRepair #LaptopService #BestRepairService #AppleServiceCenter”