iPhone 16 Pro Max Back Glass Replacement – Full Step-by-Step Guide
Replacing the iPhone 16 Pro Max Back Glass is a delicate yet achievable repair if you have the right tools, patience, and a careful approach. This guide walks you through the full process of disassembling the back glass, removing all essential components, and safely transferring them to the replacement part.
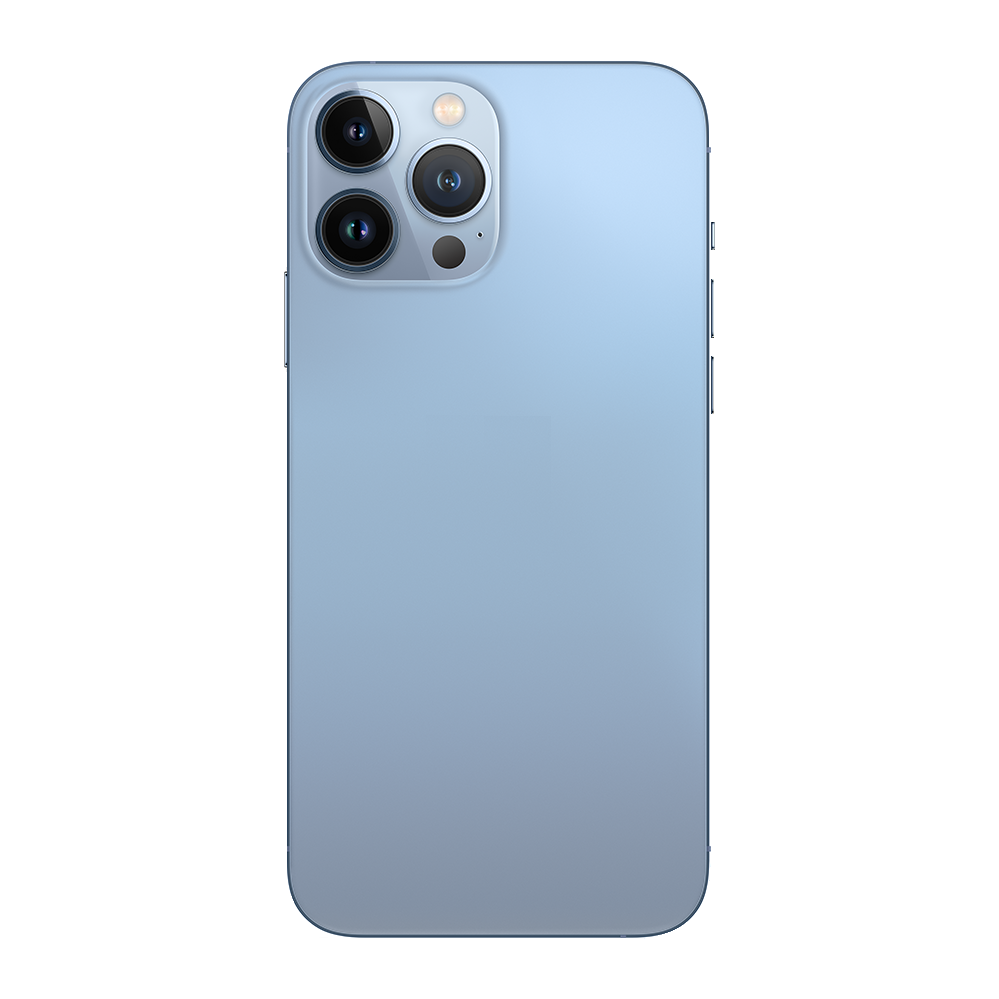
Table of Contents
Tools and Materials Needed
- Pentalobe screwdriver (P2)
- Heat gun (adjustable temperature preferred)
- Suction cup
- Guitar picks or thin plastic prying tools
- Plastic spudger and tweezers
- B7000 adhesive glue
- Precision screwdriver set
- Soft cleaning cloth
- Optional: repair clamps for resealing
- Protective mat and ESD-safe gloves (recommended)
Step 1: Preparing the Device
Start by powering off your iPhone completely.
Remove the two Pentalobe screws located at the bottom of the device, near the charging port.
Step 2: Heating the iPhone 16 Pro Max Back Glass
Use a heat gun set to high temperature (around 600°F) with airflow at 50%. Move the heat gun in a circular motion around the edges of the back glass for about 60 seconds, concentrating especially at the bottom edge. This softens the adhesive and makes separation easier.
Step 3: Lifting the iPhone 16 Pro Max Back Glass
- Place a suction cup on the heated bottom section and start pulling gently.
- As the adhesive begins to lift and you see separation, insert a guitar pick between the frame and the back glass.
- Carefully slide the pick around the perimeter of the device.
- ⚠️ Caution: Avoid pushing the pick in too deep—especially near the volume buttons and camera module—as there are sensitive cables underneath.
Step 4: Watch for Hidden Cables
Inside the back glass is a cable assembly that connects to the motherboard. This includes:
- Wireless charging coil
- Flashlight module
- External microphone
⚠️ If this cable is damaged, wireless charging and external mic functionality may be lost. Work slowly and avoid pulling the glass too forcefully.
Step 5: Securing Separation
Once the bottom of the glass is loosened, insert a plastic pry tool as a placeholder. Continue heating and sliding picks along the sides—paying special attention near the volume buttons and camera lenses to avoid internal damage.
Step 6: Disconnecting Internal Components
With the iPhone 16 Pro Max Back Glass open:
- Remove the screws and retaining plates securing the connectors on the motherboard.
- Disconnect the battery first to cut power from the device.
- Then disconnect the back glass assembly cable, flashlight, and other related flex cables.
Use a plastic or metal spudger to remove the connectors safely.
Step 7: Transferring Components to the New iPhone 16 Pro Max Back Glass
Remove and transfer these components:
- Flashlight
- External microphone
- Wireless charging coil (with heat sink and graphite tape)
Heat the areas directly on the rear glass and slowly pry up each part:
- Use tweezers and precision tools to lift and pull.
- Keep heat at a constant 600°F but go slowly to avoid tearing flex cables.
- If the components feel stuck, reapply heat for a few seconds.
⚠️ Some cables wrap around internal screw holes—be patient and don’t pull forcefully.
Step 8: Placing Components on New iPhone 16 Pro Max Back Glass
Once removed, place the components onto the new iPhone 16 Pro Max Back Glass in reverse order:
- Start with the flashlight module
- Follow with the external microphone
- Finish with the wireless charging coil, ensuring all graphite tape and heat sink areas align.
The double-sided adhesive or residual B7000 will help you reseal them firmly.
Step 9: Reassembly
- Reconnect all flex cables to the motherboard, starting with the back glass cable.
- Reinstall retaining plates and screws.
- Clean out the camera area with compressed air to remove dust.
Apply a thin bead of B7000 glue around the frame, then carefully place the new back glass into position:
- Start sealing from the top edge, then press down along the bottom and sides.
- Use retaining clamps if available to maintain firm contact during the curing period (20–40 minutes).
Step 10: Final Checks
- Boot the iPhone and go to Settings > General > About to check for pairing status of the replaced components.
- If using genuine Apple parts, you’ll see a pairing message with the date.
- If the parts aren’t original, the iPhone might display a non-genuine part warning—but functions may still work normally.
Check:
- Flashlight
- Microphone
- Wireless charging
If everything works, congratulations—your back glass replacement is successful!
Design Note: iPhone 16 Pro Max vs 15 Pro Max
The 15 Pro Max, the iPhone 16 Pro Max Back Glass has a full metal internal shield that spans from top to bottom, improving the structural durability and protection of components. This change helps reduce the risk of internal damage when the back glass breaks.
Wrap-Up
This back glass replacement requires patience and attention to detail, especially when transferring sensitive parts. Take your time, double-check cable placements, and keep your tools clean. If done properly, your iPhone 16 Pro Max will look and work just like new.
“Looking for expert Apple mobile repair? At Reformtech, we provide top-notch iPhone repair services in Behala Chowrasta, Kolkata—whether it’s screen repair, battery replacement, or other issues, we guarantee quality service! 📱🔧
We also specialize in laptop and smartphone repairs, including screen replacements, keyboard fixes, RAM & SSD upgrades, and motherboard repairs for various brands.
📞 Contact us at 8100257620 for fast & reliable service!
#Reformtech #AppleMobileRepair #iPhoneRepair #MacBookRepair #LaptopService #BestRepairService #AppleServiceCenter”