MacBook Air M2 LCD Assembly Replacement Guide
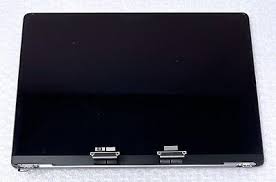
We’ll be replacing the LCD assembly on a MacBook Air M2, specifically Model A2681 in Midnight. If you’re looking for replacement LCD assemblies, whether OEM or brand-new aftermarket, we have them available in Midnight, Starlight, Silver, and Space Gray. You can find links to these parts in the description or purchase them from Reformtech.
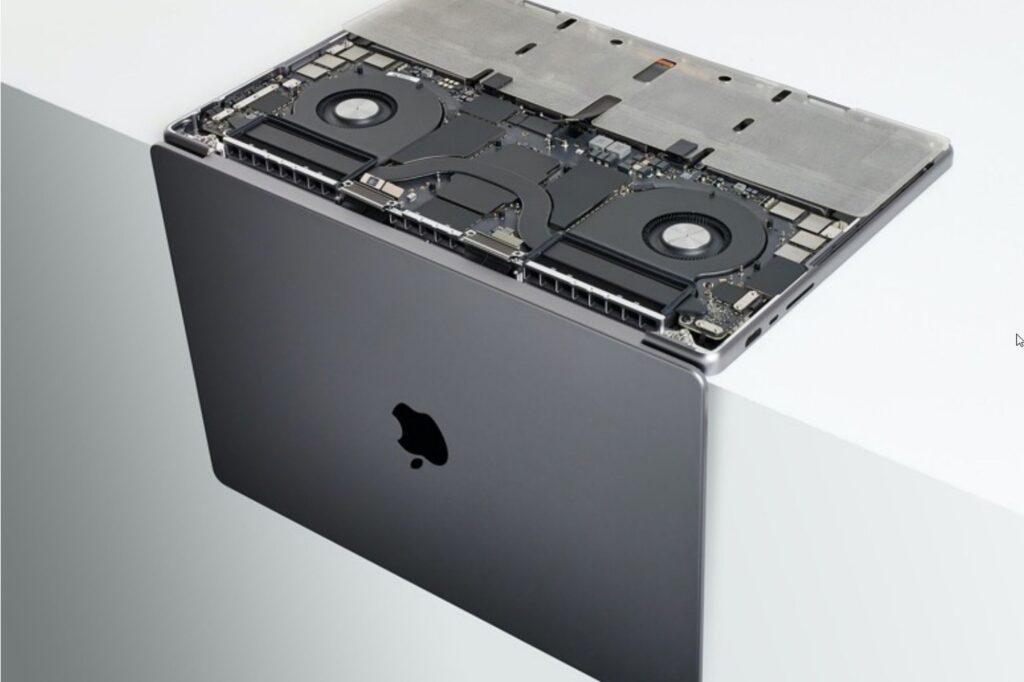
Table of Contents
Step 1: Preparing the MacBook for Repair
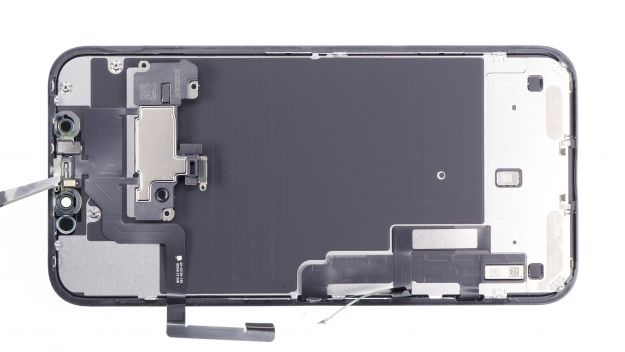
To begin, flip the MacBook over and remove the four Pentalobe screws on the bottom panel. Next, use a suction cup to carefully lift and detach the panel. Once inside, switch to a T3 screwdriver to remove the two screws securing the retention plate. This retention plate covers the battery connector, which must be unplugged using a plastic pry tool to ensure the unit is safe to work on.
Step 2: Disconnecting Components
Now that the battery is safely disconnected, continue by removing:
- Two T3 screws and the bracket securing the LCD connector
- T3 screws for the right-hand speaker and Wi-Fi antennas
- T3 screws securing the left-hand speaker assembly
- A small black cover hiding the third T3 screw
- The LCD and webcam connectors (middle and right-hand)
- Microphone connector (optional)
Switch to a T5 screwdriver to remove:
- Two screws securing the LCD hinge covers
- Wi-Fi antenna module screws (one on each side)
For the final disassembly steps:
- Remove the T3 screws securing the LCD proximity sensor
- Unscrew the T8 hinge screws (three per side)
- Remove the final two T3 screws securing the LCD cables
Once all screws and connectors are detached, open the MacBook slightly and remove the LCD assembly. Keep the old LCD nearby as you’ll need to transfer the proximity sensor to the new display.
Step 3: Installing the New LCD Assembly
Grab your replacement LCD assembly and install the LCD proximity sensor by securing it with a T3 screw. Before installation, check if your aftermarket LCD has an additional bracket securing the LCD cables. If so, use a PL1 screwdriver to transfer the bracket, securing only the back screws.
Now, place the new LCD assembly onto the MacBook’s top case and align the hinges properly. Open the MacBook fully to ensure a snug fit. Once aligned, hold the hinges down and begin reinstalling the following:
- Proximity sensor connection
- Six T8 screws for the LCD hinges
- LCD display connections secured with T3 screws
Step 4: Reassembling Wi-Fi and Speaker Components
Next, reconnect the Wi-Fi and speaker assemblies:
- Slot the Wi-Fi and speaker brackets back into place.
- Click in the speaker section first, followed by the Wi-Fi antenna.
- Use a T5 screwdriver to secure the outer screws first, then the inner ones.
- Ensure the bottom case screws aren’t overtightened, as they help secure the bottom panel.
With that done, reinstall the hinge covers using T3 screws and place all brackets back in their original positions. Ensure all connectors are properly seated before moving to the final steps.
Step 5: Finalizing the Repair
Before sealing the MacBook, reconnect the battery and test the new LCD assembly by powering on the device. If the display works fine, proceed with reinstalling the bottom case:
- Align the four clips on the panel with the corresponding screws at the top.
- Press the panel down, clicking the press pins into place at the bottom and middle.
- Secure the panel with the two longer screws at the bottom and two shorter screws at the top.
Conclusion
ReformTech is a highly reliable Laptop and Smartphone repair service provider that offers on-site repairs for various brands. We specialise in fixing hardware issues, including screen replacements, keyboard replacements, RAM upgrades, SSD upgrades, and even motherboard repairs. Contact us at 8100257620 for fast and efficient service.